How to Set Up an RV
A Step-by-Step Guide for Beginners
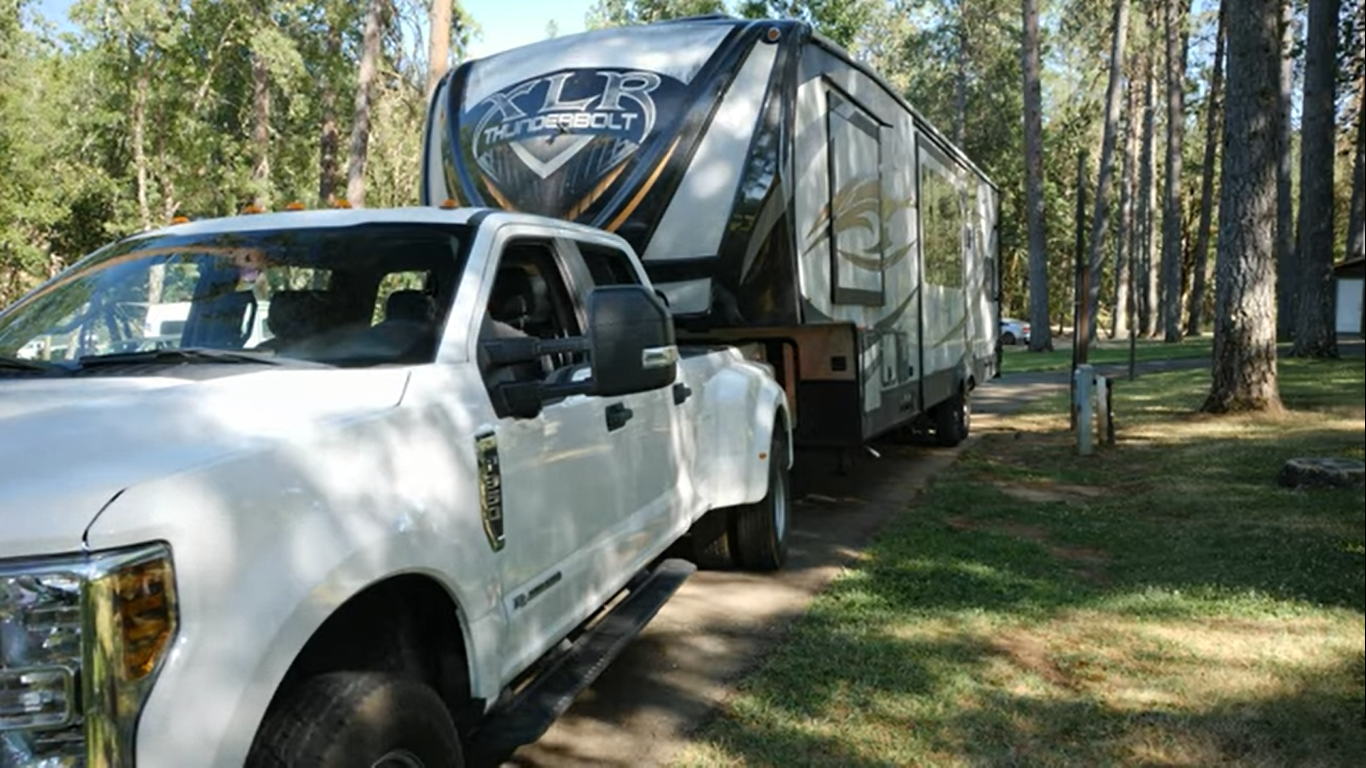
When we first picked up our RV from the repair shop, we had no idea what we were doing. We were so scared that we didn’t even unhook it from the truck. That was our worst night in the RV. At that point, we even doubted our decision to travel full time.
So much has changed since then. We are by no means experts now, but we've learned a lot of things that'll be helpful to RVing newcomers. From detaching your RV to getting settled at a campsite, we have the guide for a great experience.
What to do when you arrive at your campsite
When you make your booking at your RV park, you’ll get a space number. You’ll set up in that spot during your stay.
The most important thing is to book a campsite that your RV can handle; it must be the right length.
Get a pull-through site if possible. That way, you won’t have to back in because backing out an RV could be a pain.
Before you pull into the site, check if it's level. If you visit TripAdvisor or Google, they could have pictures of your space number. Previous campers sometimes leave information so you could tell if the spot is not level. You can also use a level to check once you arrive.
If your RV spot is not level, your jacks can handle part of it. Sometimes it's so out of level that your jacks will overextend. If that happens, place wood underneath the jacks or get leveling blocks so that you don’t come off the ground when you level the wheels. You can also get camper levelers on which you can roll up. They provide better support for the wheels.
Things to consider when pulling into your site
These are important to do BEFORE you disconnect your RV from your truck:
Make sure there’s enough space between your slides, trees, and the utilities.
Before parking your RV, make sure you have power and water in your spot.
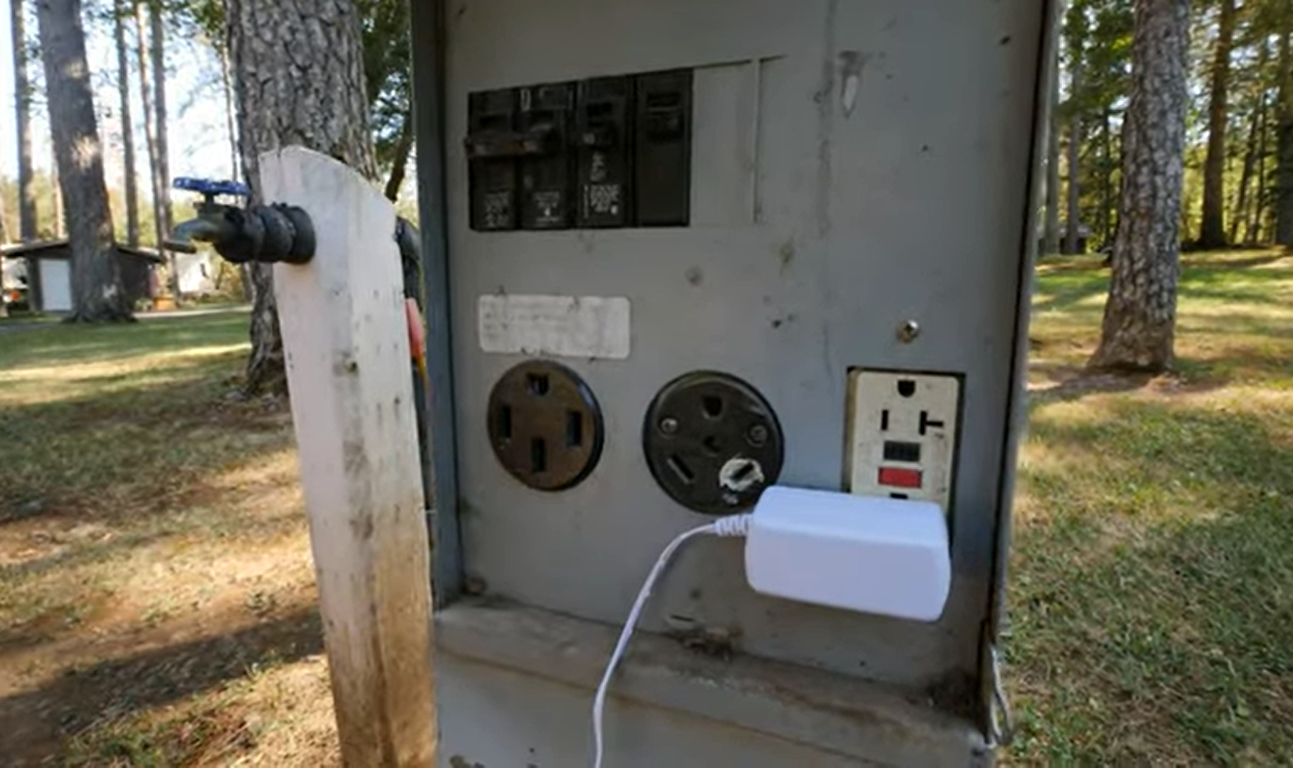
Some RV parks say they have utilities on their sites when they don't. Plug in a small electronic device to the power source to make sure that the electricity works. We plugged in a light to double-check if our spot had electricity.
Make sure all circuit breakers are down when you arrive. You’ll pull them up when you test the power and when you connect your RV electricity. The site power source usually has three circuit breakers – 50-amp, 30 amp, and 20 amp.
When pulling forward, make sure that your RV’s, electrical, plumbing, and sewer connections line up with those at the site.
Before you disconnect, chalk the RV wheels to avoid rolling backwards. It can also prevent your rig from sliding forward. Put the chalk in between the two wheels of your RV. Do that on both sides to be on the safe side.
Disconnecting your truck from a 5th-wheel RV
Once all your utilities are in place, you can disconnect your RV from the truck.
Firstly, turn on your electronic leveling system.
You want the front legs to come down enough to take the weight off the pin in the truck.
Press the “front” button to start lowering the jacks one at a time. You need to wait until the truck stops moving before disconnecting it. When it stops moving, that means the weight is off the truck. Then, you can let go of the “front” button.
Take the tailgate down. You could rip it off when pulling off the 5th-wheel, and we don’t want that.
Once the weight is off the pin, you can pull off the emergency brake wire.
Remove the safety pin by lifting the hitch clip to which it’s attached.
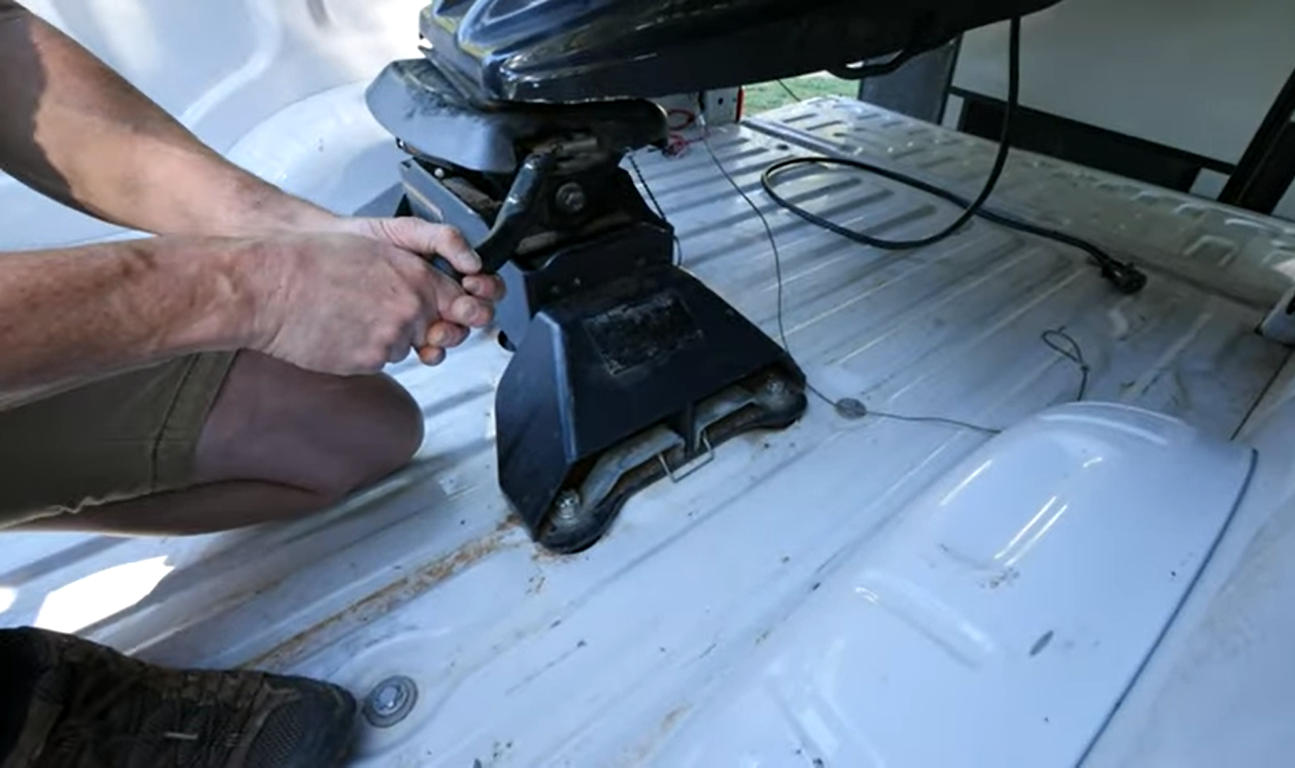
Pull out the latch (pictured) and pull it forward to disconnect from the truck.
With everything safely disconnected, you can pull your truck forward enough to close the tailgate.
Leveling the RV
This part of the setup process is easy, especially if your RV has an electronic leveling system.
If you're on grass or mud, you can place leveling blocks underneath the jack for a strong foundation. If you need to lift much more on one side than the other, you can put them on that side.
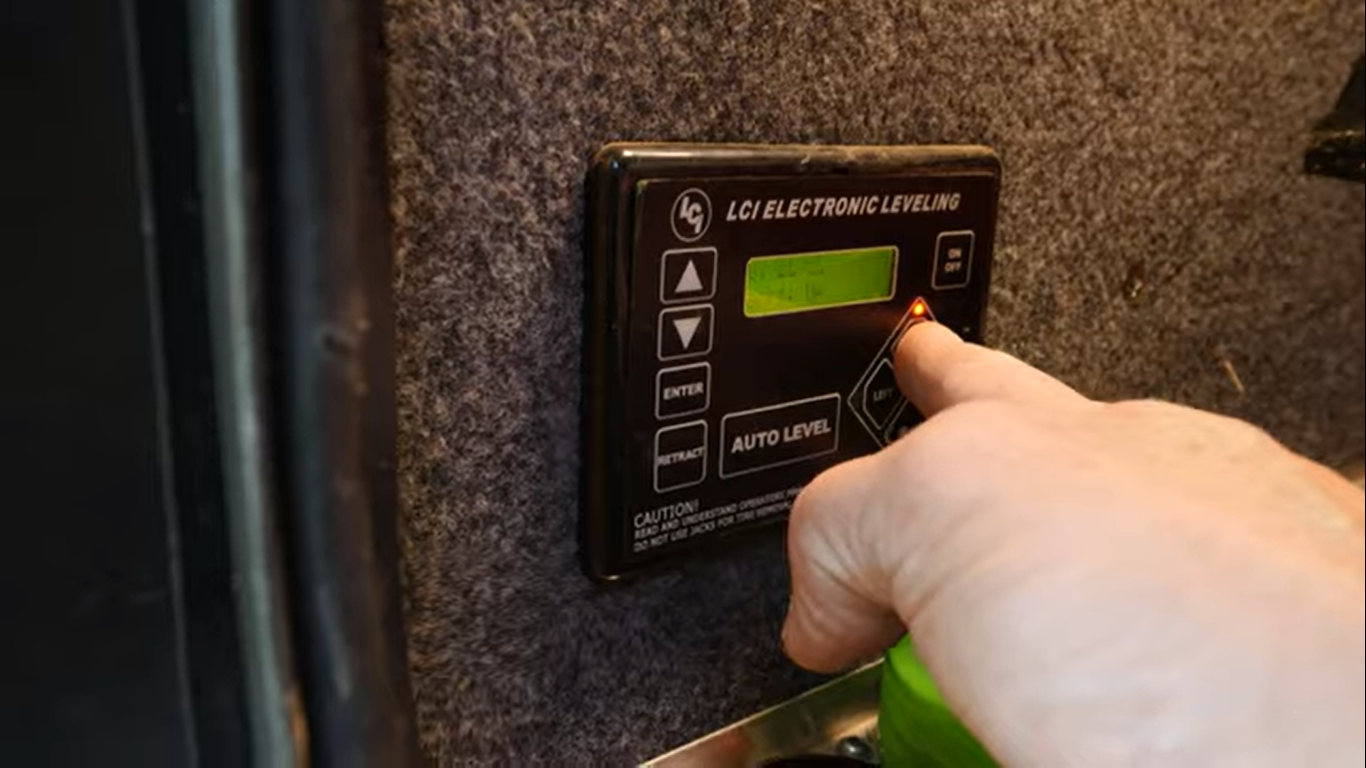
To level your RV, press the “on” button on the electronic leveling system.
Press “auto level”. You must be near the RV during the auto-leveling in case something happens
When the process is complete, it’ll show on the leveling system. The text “LEVEL, Jacks: Down” should appear on the LCI.
Hooking up your utilities
Some people hook up the electricals first to avoid killing the batteries while auto-leveling. I usually level the RV first, then hook up the electricity.
Setting up the electrical connection – Plug one side of the 50-amp cable and power grip onto the RV, and then plug the other end into the 50-amp power supply. You can turn on the 50-amp circuit breaker afterwards. We recently learned from other RVers that there’s a 90-degree adapter you could use to put less pressure on the connector cable.
If your site doesn’t have a 50-amp power supply, use an adapter to connect to the 30-amp power supply.
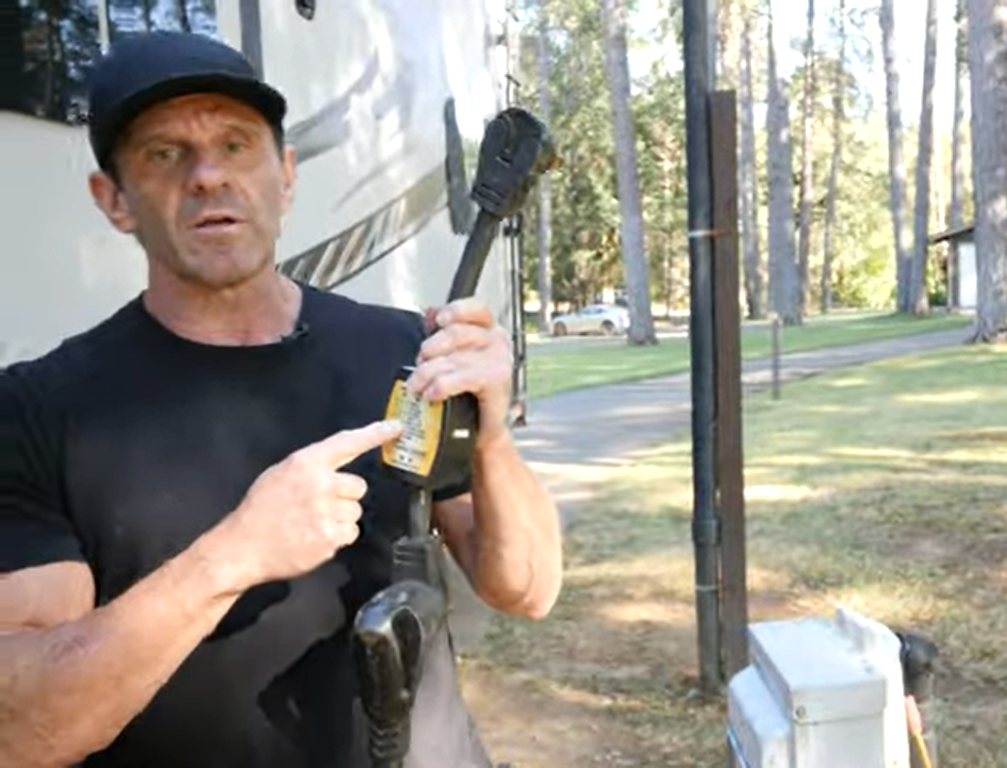
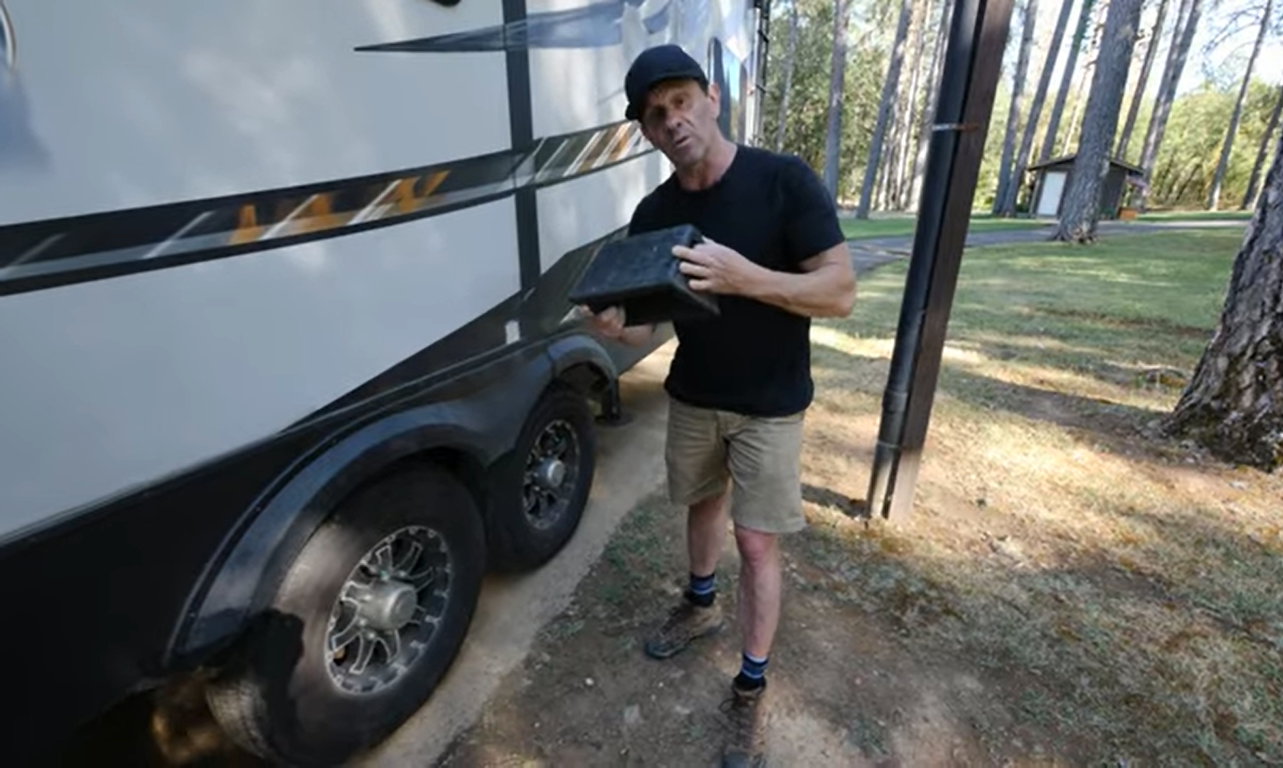
Make sure your connector has a surge protector (like the one I’m holding here), so you can protect the circuitry inside the RV. If the lights on your surge protector are green, it means everything is wired correctly.
The water connection – We use a 50-foot long heated hose for all seasons. You can get one that’s 25-foot long for your RV. The heated hose is for freshwater. You don't want to use the same hose for black water and freshwater. So, you’ll also need a sewer hose.
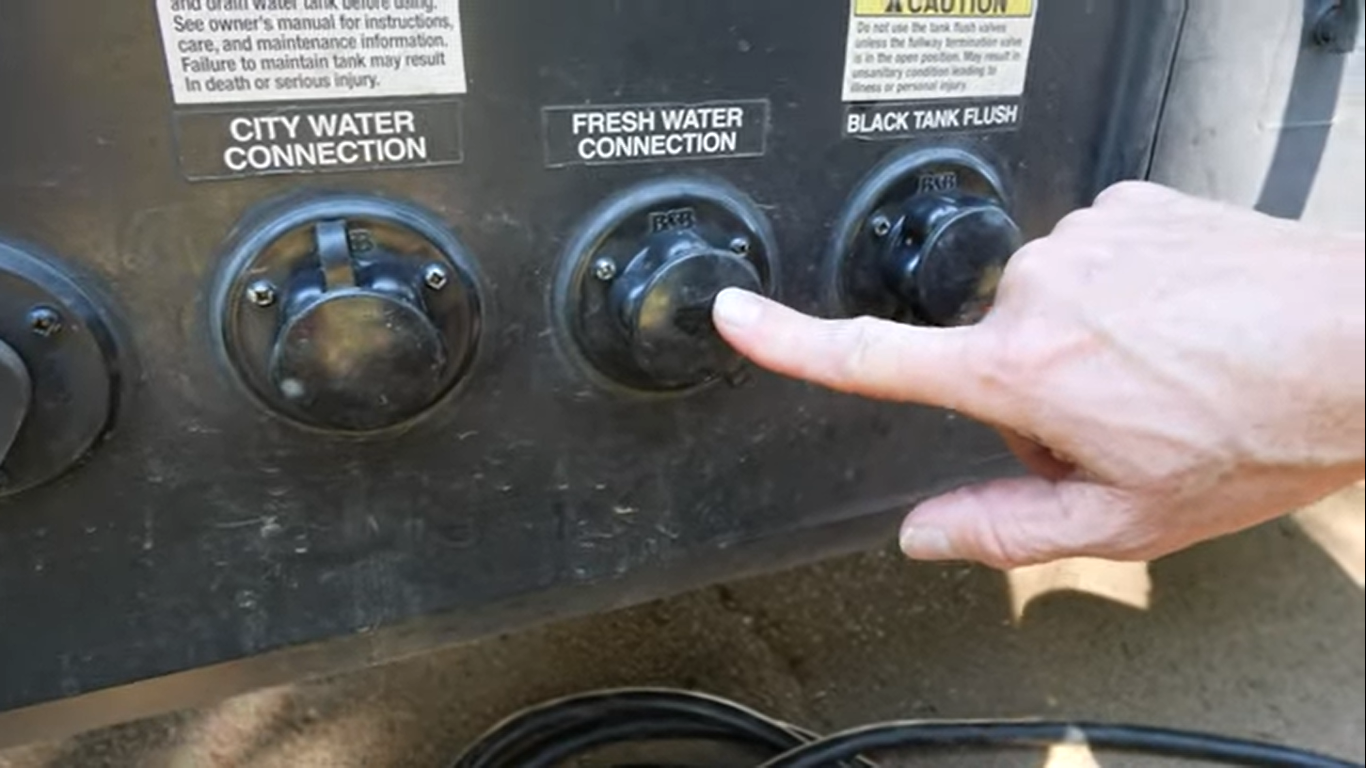
Fresh Water Connection is for filling your fresh water tank, bathing, the sink, the toilet, and the shower. City Water Connection flows from the city water through your RV if you have a connection at the site. Black Tank Flush is for cleaning out the black tank.
You’ll also need a water pressure indicator because excessive pressure could burst your water pipes. It will show if you're getting too much water pressure. So, you plug the water pressure indicator into the City Water Connection and then connect the freshwater hose to it. Plug a water filter to the opposite end of the hose and connect it to the site’s water supply. Then you can slowly turn on the water.
Hooking up the sewer –At the back of our RV is the sewer hose holder. We have a Rhino brand sewer hose with a black water and grey water connector. To hook up the tank, make sure that you’re connecting your hose to the grey tank. Grey tanks usually have two valves, so you want to make sure that both are closed. Then pull the lid off and connect the hose.
You can get an elbow connector for the sewer. It's clear, so you know when the water is clean. Plug one end of the connector to the site sewer system, then connect the other end to your grey tank hose. When you’ve connected to the grey water tank, you can open both valves, and water will flow freely into the grey tank. When you're at the RV park, keep the black water tank closed and hook up only the grey water tank. Drain the black tank before you leave or when it gets full.
After your black tank flush, pour a mix of water and dish soap down the toilet. It helps prevent your RV from stinking up.
We hope these make your RV life a lot easier. We made mistakes so you don’t have to. May this adventure be the beginning of a fulfilling RV living journey for you and your travel companions.
As always, we can't wait to share more of our adventures with you.
To follow the instructions with us, check the YouTube video below: