7 Steps to Amazing RV Lighting
One of the best RV upgrades you can make is to turn your lights from drab to fab. Lighting can make a difference in the appearance of your tiny home. We bought a vandalized RV to create a comfortable home for ourselves. So, it was crucial that we love every part of the décor, including lighting.
Often, new RVs come fully furnished and equipped, making them difficult to customize. With a vandalized RV, we had control of how our tiny home on wheels looked. That started with getting lighting that looked more residential. I mean, RV lights aren’t exactly known for their aesthetic appeal.
We found out that our 12V system was compatible with residential light fixtures, and the rest was history. The secret was in getting 12V residential light bulbs. One of our wall lanterns recently broke. So, we thought this would be a great time to take you along our lighting re-installation process.
What you’ll need:
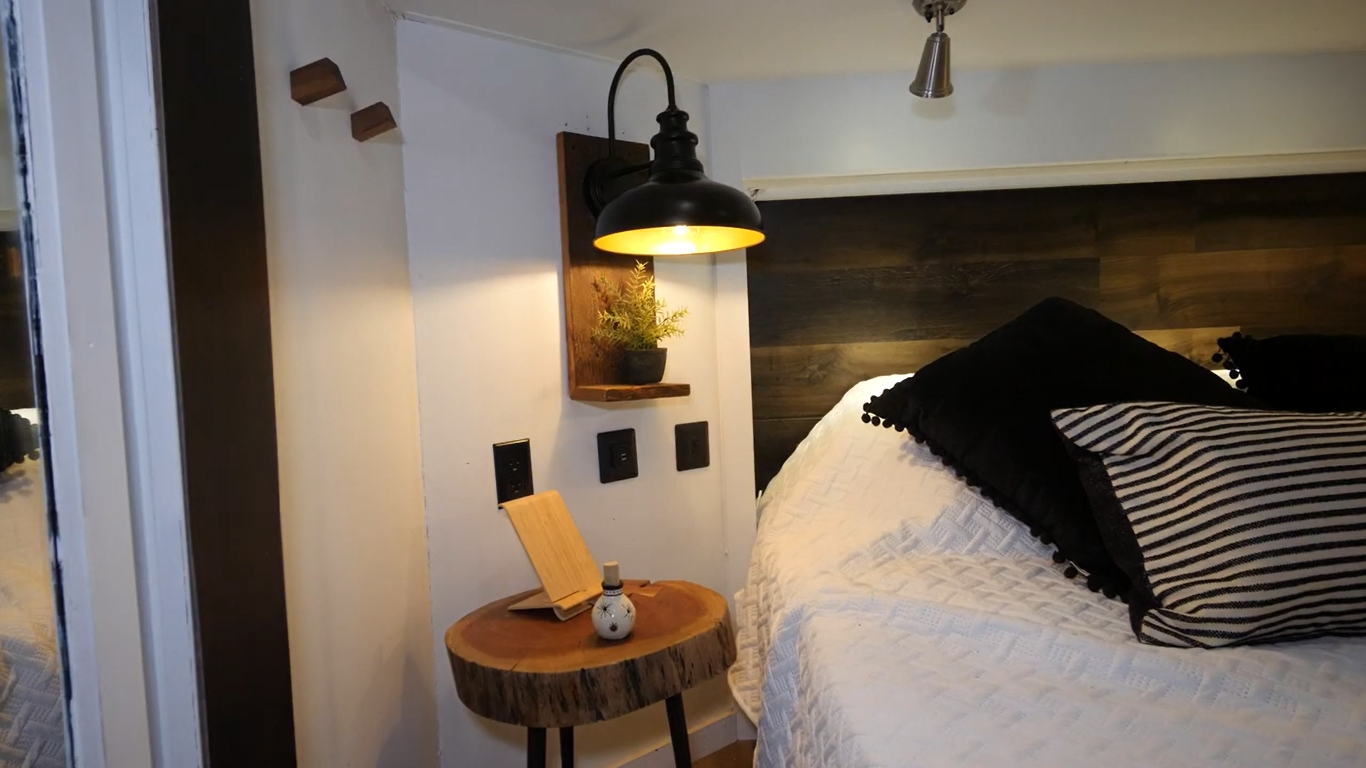
Farm light fixtures (Indoor wall lanterns)
Flat Internal switches
12 Volt Edison bulbs
The number of items you need will depend on how many light bulbs you want to install in your RV. Mason from Hines Pine Mill House installed our lighting during the initial RV renovation. Since we were only replacing a broken light, we didn’t need to buy any new wiring.
Steps to follow:
Step #1 - Before you start working, you need to turn off the power. You’re only working with 12 Volts of electricity, but it’s better to be safe than sorry.

Step #2 - If you’re replacing a broken light like we were, use a hand drill to remove the wall mount of your broken lanterns from the junction box.
Step #3 - Drill a hole into the mount of your new lantern to insert the internal switch. Use the correct drill bit so that the hole matches the size of the switch.

Step #4 - Insert the internal switch through the hole you just drilled. If the hole is bigger than your switch, you can use a washer to fill the gap.
Step #5 - Our wall lantern mount was deeper than the previous one, so we also had to get longer junction box screws to adjust the height of our junction box.

Step #6 - Strip the ends of the wires to prepare for connections, then connect the corresponding wires of the lantern with those of the junction box using wire nuts.

Step #7 - Finally, you can screw in the lantern to your wall. Attach the dome, put in the light bulb, and turn the power back on.
Repeat these steps for all your RV lights. For more RV renovation tips, check out our YouTube channel here.
As always, we look forward to sharing more of our adventures with you.
You can follow along the steps in the video below: