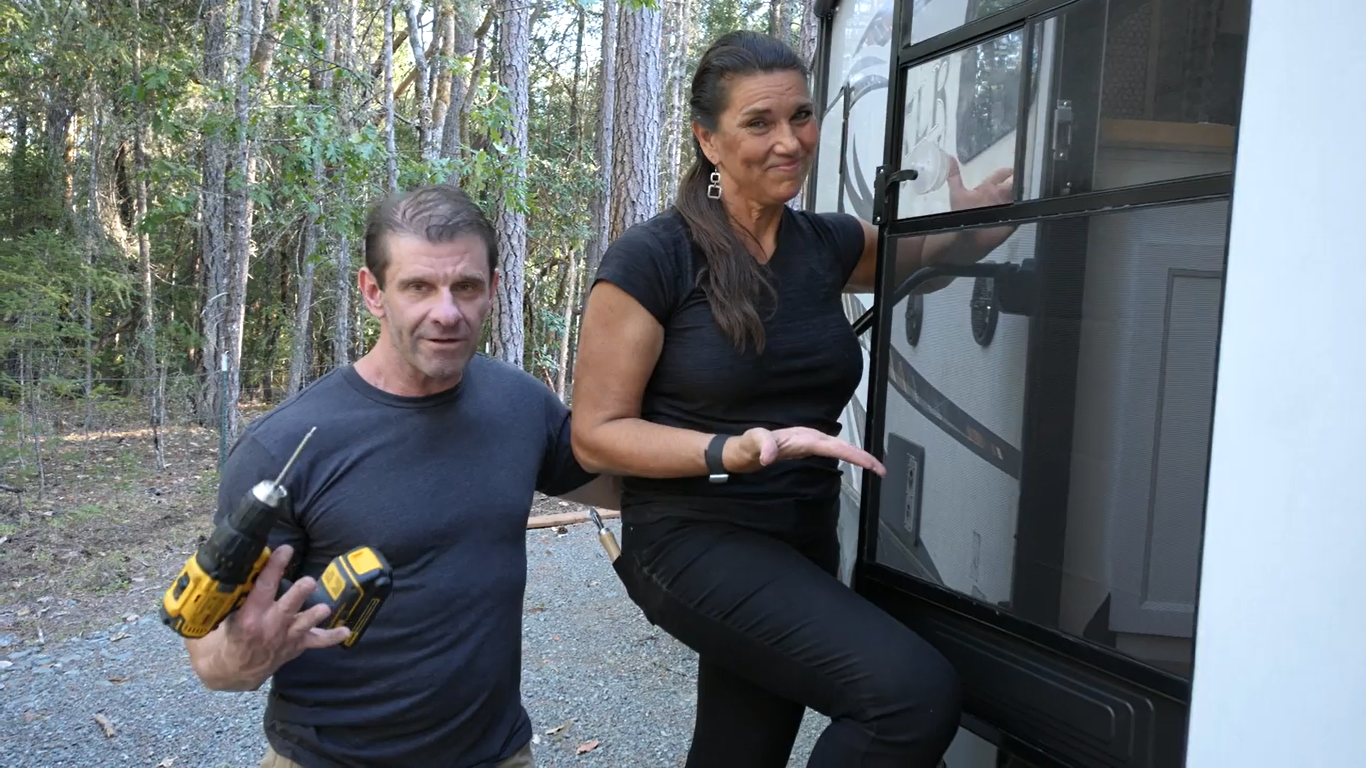
How to Repair your RV Screen Door
If you live in an RV full time, your screen door will need repair at some point. Sometimes, your screen rips. Our dog tore the screen in our screen door, and we had to replace it. To be clear, we replaced the screen, not the dog. Replacing the screens in your RV is one of the cheapest upgrades you can add to your tiny home. Always opt for heavy-duty screens. They’re durable and easy to install.
Read on for tips on how to fix a screen door on your RV.
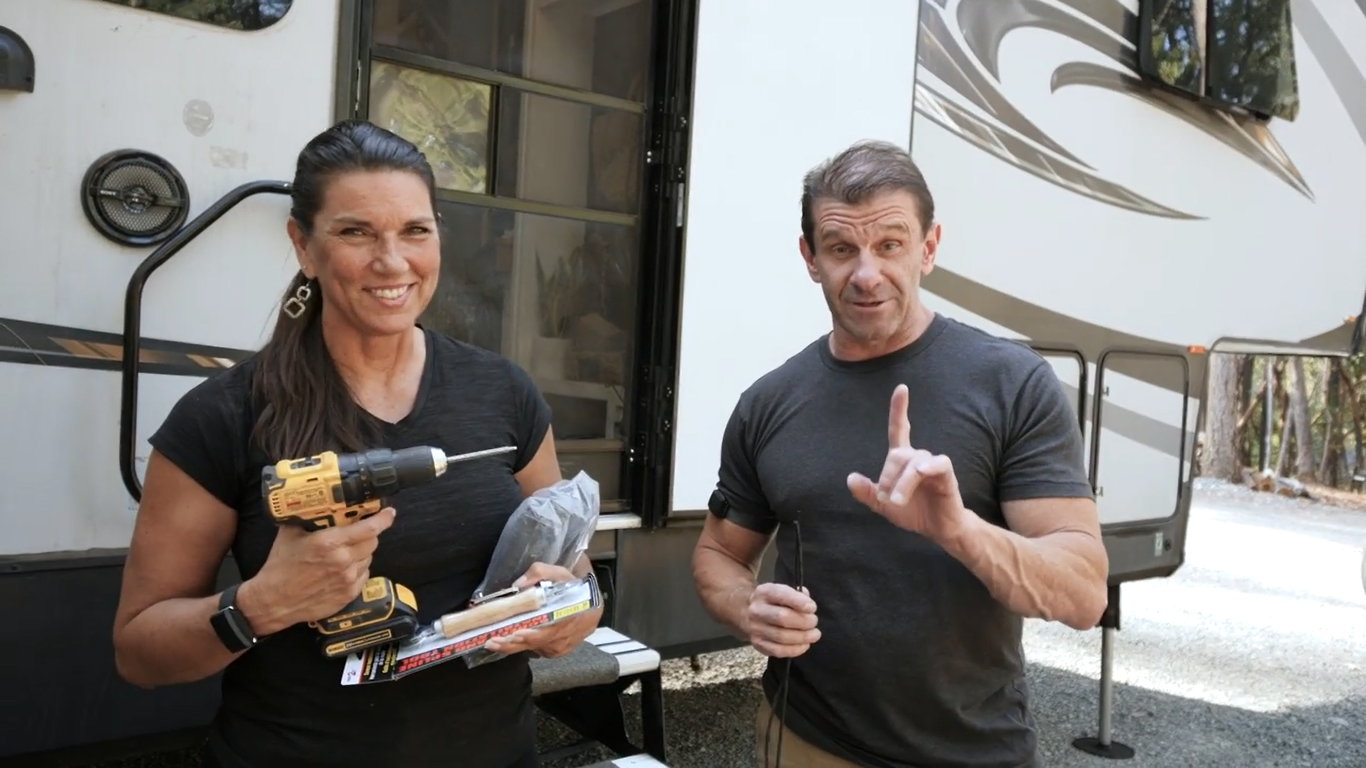
What you’ll need:
Screen spline
Heavy-duty screen
Screen spline roller
A sharp knife or razor
A drill or screwdriver
What to do:
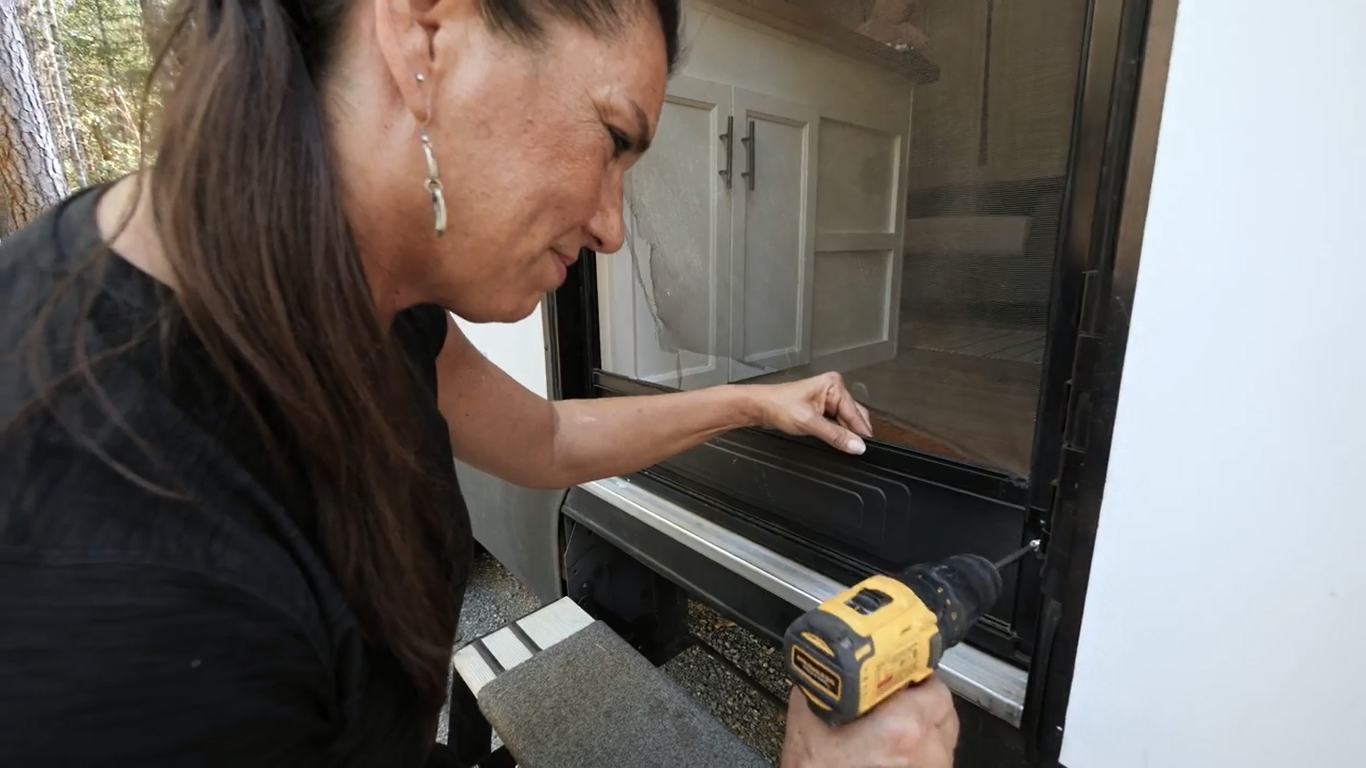
Step one
Your screen door has six screws. You’ll need to remove the screws with a screwdriver or the square head drill bit.

Step two
You’ll need somewhere to place your screen door. Rip out the old screen. You can grab the end of the spline and pull it up.
Step three: Lay out the new screen and stretch it out evenly over the screen door.
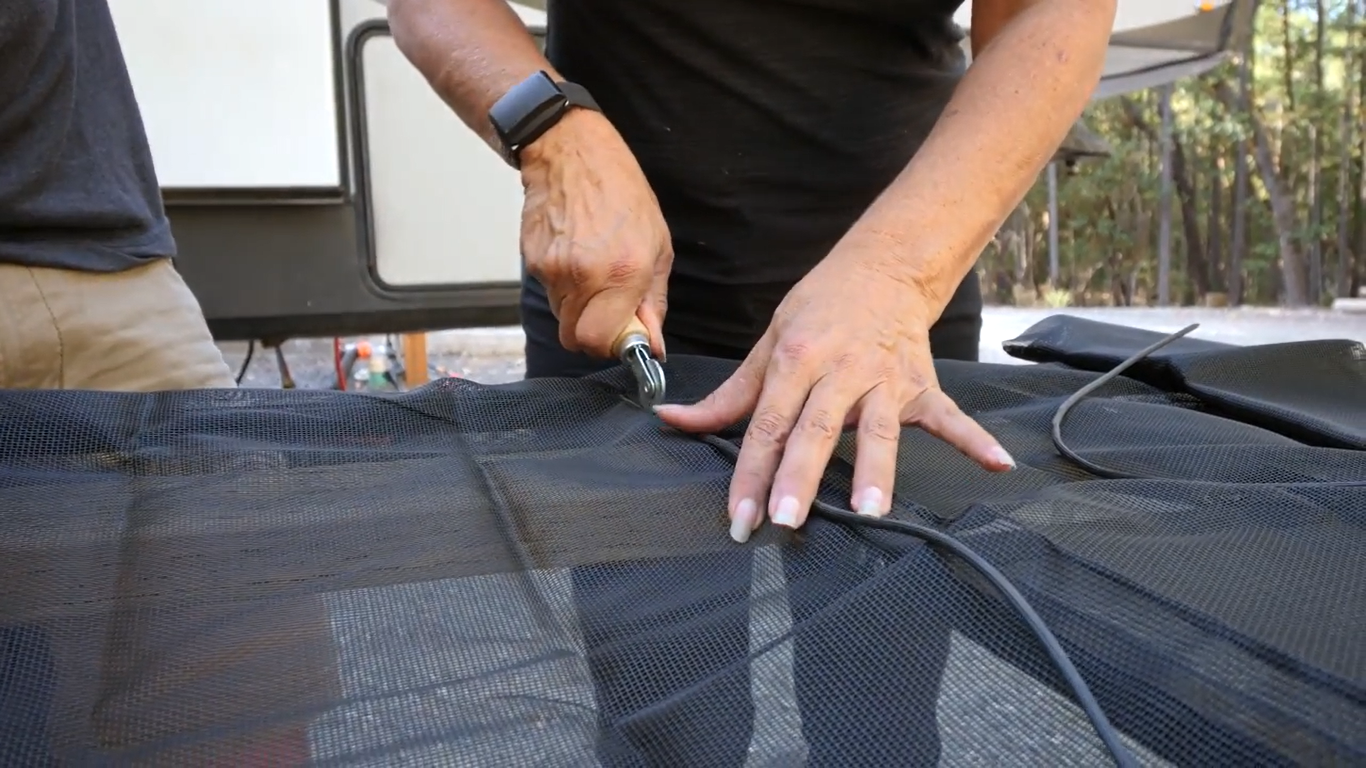
Step four
Place the spline on top of the screen to push it into the door crevices using the screen spline roller, starting with the top part of the door.
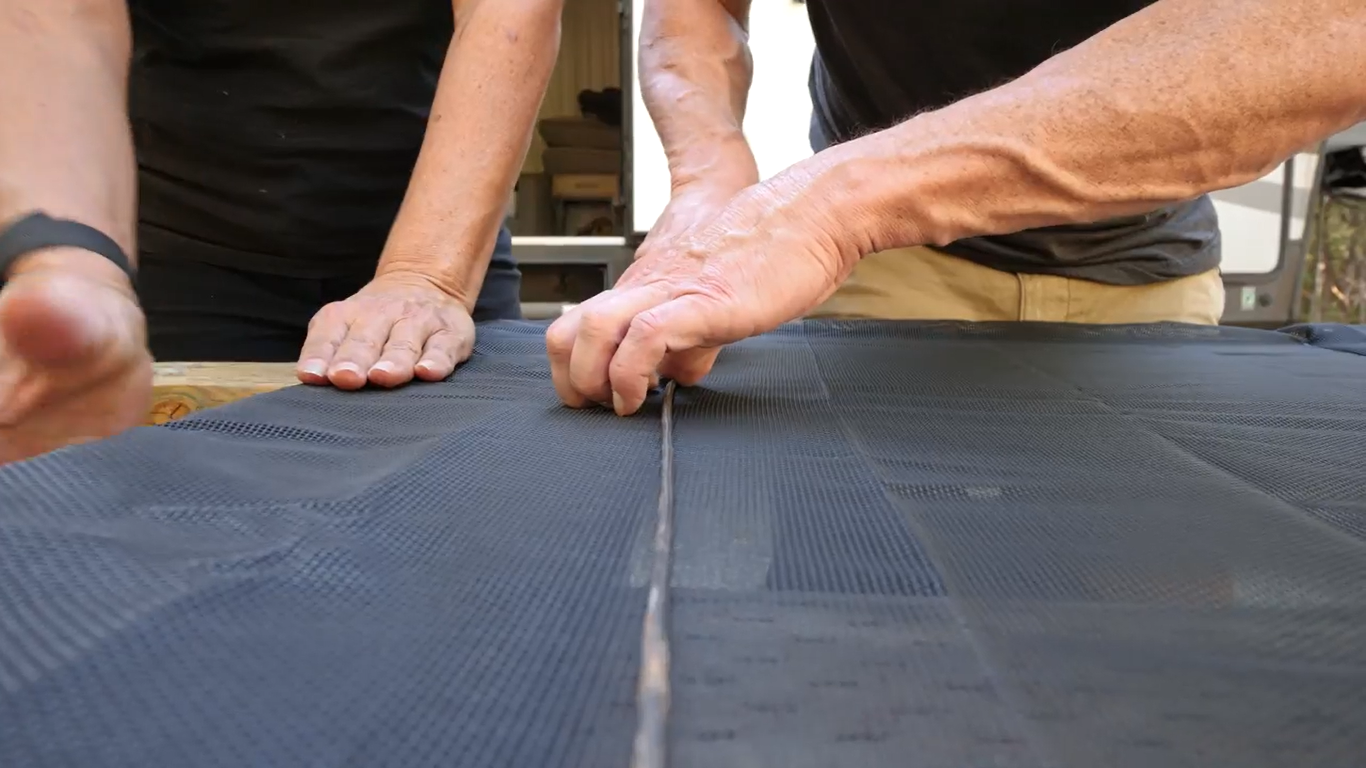
Step five
Pull the screen tightly before pushing in the spline at the bottom. Then, you can push in the splines on the sides.
Step six: Use a sharp knife to cut any protruding spline ends, and trim off the unneeded parts of the screen.
Step seven
Screw in the door back into your RV. And voila! You have a new screen door, and you didn’t even need to visit an RV shop.
Bonus tip: To ensure that your screen door is child-proof AND dog-proof, you can install a screen defender. It’ll prevent future rips of your screen.
As always, we look forward to sharing more of our adventures with you.
Watch the video below to follow along as we fix our screen door: